This post contains affiliate links. As an Amazon Associate I earn from qualifying purchases, at no extra cost to you. Every link goes to Amazon Japan (amazon.co.jp), where prices are listed in Japanese yen and the site can be switched to English. Any dollar figures here are rough guides only, so check the current price and whether it ships to your address before you buy.
Making matcha at home is easier than the tea-ceremony videos make it look. You don’t need a ceremony, and you don’t need to spend a fortune. You need good powder, a bamboo whisk, hot (not boiling) water, and about two minutes.
I got this wrong for weeks when I started. My matcha was bitter and lumpy, and I blamed the powder. It wasn’t the powder. It was boiling water and a metal spoon. Fix those two things and you’re most of the way there.
Here’s the whole process, start to finish.
What You Need
- Matcha powder. Ceremonial grade for drinking straight; culinary grade for lattes and baking. More on that below.
- A bamboo whisk (chasen). The single most important tool. A 100-prong white bamboo whisk is the beginner default. See our full whisk comparison.
- A bowl. A proper matcha bowl (chawan) is wide and gives you room to whisk, but any wide, deep cereal bowl works to start. A whisk-and-accessories set is the easiest way to get the whisk, a rest, and a scoop in one box.
- A fine strainer or sifter. Optional but worth it. Sifting the powder is the easiest way to avoid clumps.
- A scoop or teaspoon. A bamboo scoop (chashaku) is traditional; a half-teaspoon works fine.
- Short on time? An electric milk frother whips up matcha lattes in seconds (not as fine a foam as a chasen, but fast).
Ceremonial vs Culinary Matcha
This trips up almost every beginner, so let’s settle it.
Ceremonial grade is made from young leaves, stone-ground fine, and meant to be drunk with just water. It’s smoother, sweeter, and greener. Use it when you’re making a plain bowl of matcha.
Culinary grade is stronger and more bitter, which is exactly what you want when it’s competing with milk and sugar in a latte, or with flour in a cake. It’s also cheaper.
If you’re drinking matcha straight, buy ceremonial. If you’re making lattes, culinary is the smarter spend. Buying ceremonial grade and then drowning it in oat milk is a common and expensive mistake. (Our ceremonial matcha guide compares real picks for beginners.)
Step by Step
1. Sift the powder
Push one to two scoops (about half a teaspoon to a teaspoon) through a small strainer into your bowl. Matcha clumps as it sits, and sifting is the single best clump-preventer. Skip this and you’ll be chasing lumps later.
2. Add a splash of hot water
Heat water to about 70 to 80°C (160 to 175°F). This is the part most people get wrong. Boiling water scorches matcha and turns it bitter. If you don’t have a thermometer, boil the kettle and let it sit for two minutes, or add a little cold water.
Start with just a small splash, maybe a tablespoon, and whisk it into a smooth paste first. This step alone kills most clumps.
3. Whisk
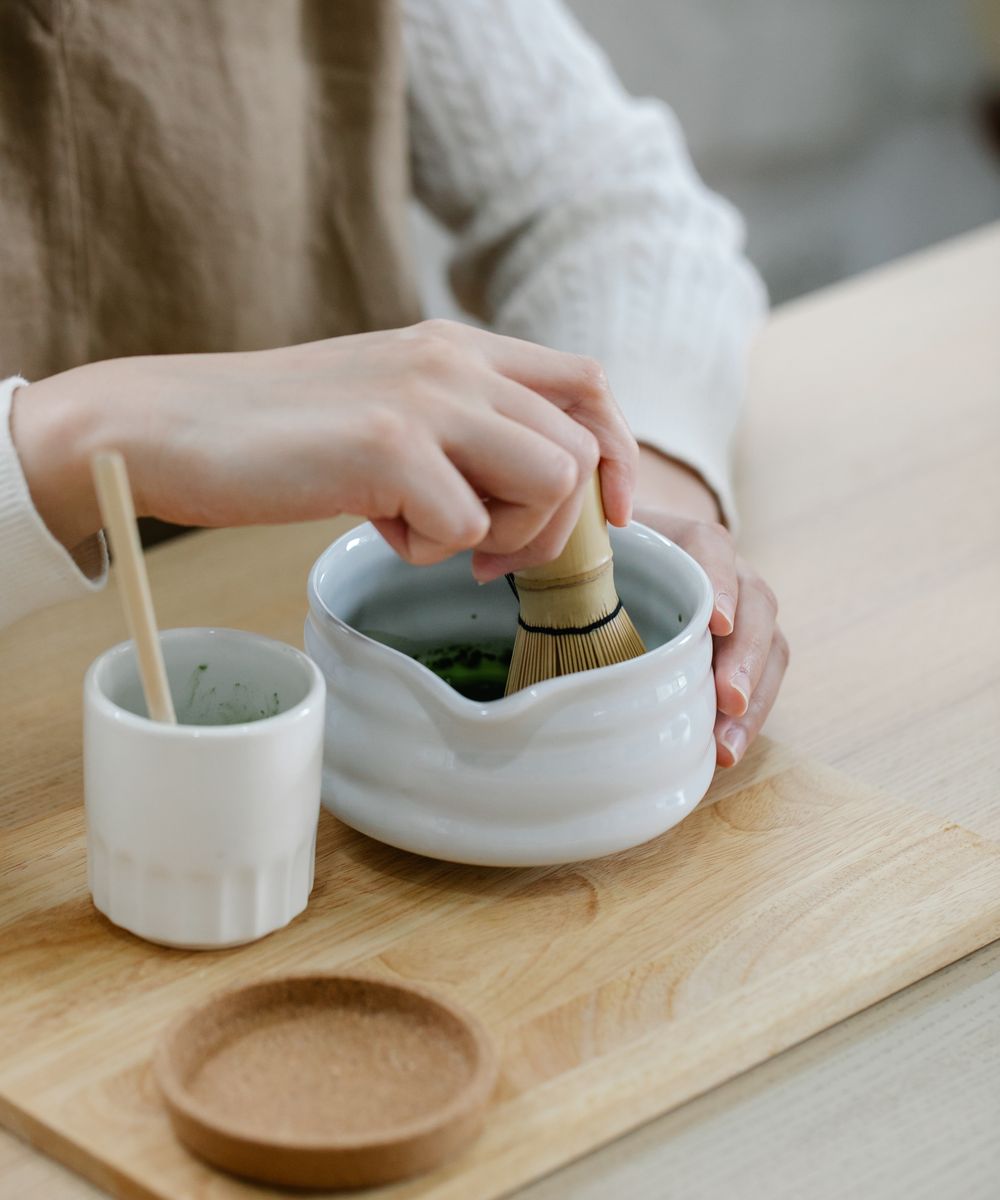
Add the rest of your water, around 60 to 70 ml (about a quarter cup) for a traditional bowl. Whisk briskly in a “W” or “M” motion, using your wrist, not your whole arm. Don’t stir in circles. After ten to fifteen seconds you’ll see a fine, pale-green foam rise to the top.
4. Drink it fresh
Matcha separates as it sits, so drink it within a few minutes. If it settles, a quick re-whisk brings it back.
For a Matcha Latte
Whisk the matcha with a small splash of hot water into a smooth paste as above. Then pour it over warm or iced milk, sweeten to taste, and stir. Doing the paste step first is the difference between a smooth latte and a grainy one.
The Two Mistakes to Avoid
- Boiling water. It makes even great matcha taste harsh and bitter. Let the kettle cool for two minutes.
- Skipping the paste step. Whisk a little water into a paste before adding the rest, and clumps mostly disappear.
Get those two right and your matcha will already beat most café versions.
Where to Go Next
Once you’re comfortable, the two upgrades that matter most are a better whisk and better powder. A 100-prong bamboo whisk and a can of real Uji ceremonial matcha are the two that change the cup most. Compare more options in our best matcha whisk for beginners and best ceremonial matcha for beginners guides.
The ritual is small, but it’s genuinely calming. Five minutes, a warm bowl, no screen. That’s most of why I still do it every morning.
↑ Back to top